Understanding and Replacing Music Box Pins
Music boxes are enchanting relics of the past, captivating us with their delicate melodies and intricate mechanisms. A crucial, often overlooked, component in their operation are the pins – the tiny metal teeth that strike the teeth on the comb to create the music. When these pins wear out or break, the music box's performance suffers, often resulting in missing notes or a weak, distorted sound. This guide delves into the world of music box pins, explaining their function, why they fail, and how to replace them.
What are Music Box Pins?
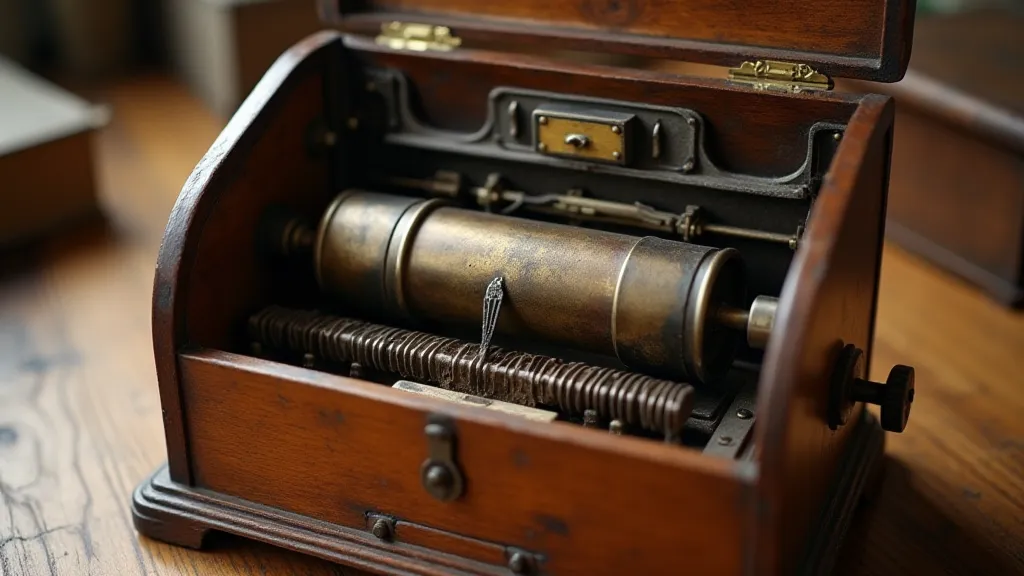
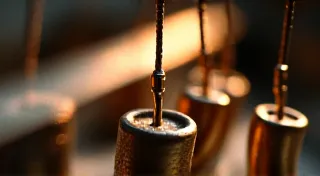
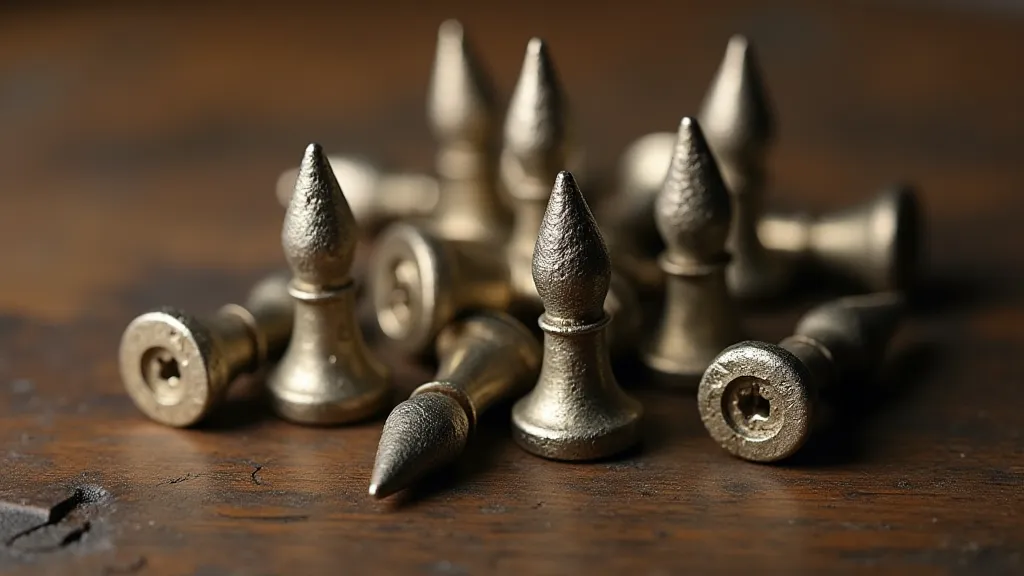
Music box pins, also known as “note pins,” are small, precisely shaped metal projections attached to a rotating cylinder or disc. Each pin represents a specific note in the music box's tune. As the cylinder rotates, the pins strike the flexible teeth of the comb (or disc) causing them to vibrate and produce sound. The accuracy and placement of these pins are paramount to the music box’s ability to play the correct notes in the correct sequence.
Why Do Music Box Pins Fail?
Several factors contribute to the failure of music box pins. The most common reasons include:
- Wear and Tear: With age and repeated use, the metal can become fatigued, leading to breakage or bending.
- Corrosion: Moisture and environmental factors can cause corrosion, weakening the metal.
- Physical Damage: Accidental bumps or mishandling can bend or break the pins.
- Metal Fatigue: Constant flexing and striking can cause the metal to become brittle and fracture.
Identifying Pin Failure
Recognizing a faulty pin is key to restoring the music box's functionality. Look for these signs:
- Missing Notes: The most obvious symptom is a note or series of notes that are no longer played.
- Weak Sound: A pin that is bent or damaged might still strike the comb, but the resulting sound will be weak and uneven.
- Distorted Sound: A damaged pin can cause a harsh or dissonant tone.
- Visible Damage: Careful visual inspection, often with a magnifying glass, can reveal broken or significantly bent pins.
Replacing Music Box Pins: A Step-by-Step Guide
Replacing music box pins is a delicate process requiring patience and the right tools. Always proceed with caution and if you are not comfortable with this level of repair, it’s best to consult with a professional.
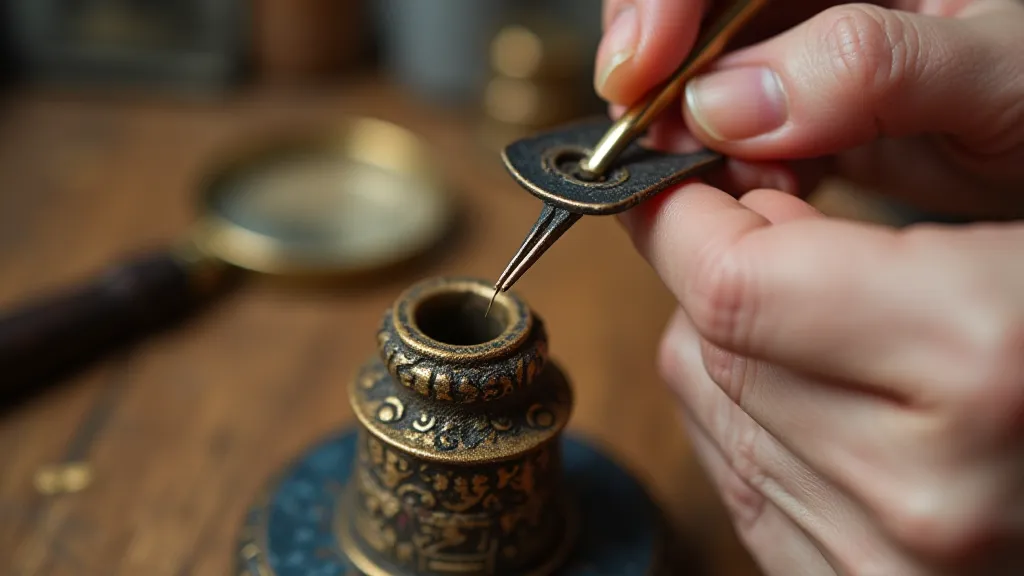
- Gather Your Supplies: You’ll need new music box pins (matching the originals in size and shape), a small pin vise or similar holding tool, tweezers, a magnifying glass, and potentially a small file for minor adjustments.
- Careful Removal: The old pin must be removed without damaging the cylinder or disc. Gently wiggle the pin with tweezers, trying to pull it straight out. Avoid twisting or bending.
- Inserting the New Pin: Using the pin vise, carefully position the new pin in the hole. Ensure it’s aligned correctly to strike the comb tooth at the appropriate angle. Gently press the pin into place.
- Testing and Adjustment: After replacing a pin, rotate the cylinder and listen carefully to the note it produces. If the note is incorrect or weak, you may need to gently adjust the pin’s angle using the tweezers or a small file.
- Repeat and Test: Repeat the process for each faulty pin, testing the music after each replacement.
- Final Inspection: Once all replacements are complete, play the music box through its entire tune to ensure all notes are accurate and clear.
Important Considerations
- Pin Compatibility: Ensure the replacement pins are the correct size and shape. Incorrect pins will not produce the desired sound.
- Gentle Handling: Music box pins are fragile. Handle them with care to avoid bending or breaking them.
- Documentation: It's helpful to take photographs or notes before disassembling the music box to aid in reassembly.
- Professional Help: If the damage is extensive or you’re unsure about the repair process, consult with a professional music box repair specialist.
Replacing music box pins can be a rewarding project, bringing a silent music box back to life. With patience and attention to detail, you can preserve these beautiful pieces of history for generations to come.