Replacing Broken Music Box Gears: A Detailed Guide
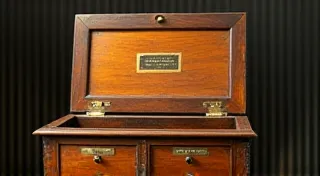
The delicate beauty and intricate mechanisms of antique music boxes are a testament to the ingenuity of past craftsmen. However, time and use inevitably take their toll. One of the most common issues encountered in antique music box repair involves broken or worn-out gears. While daunting to the uninitiated, replacing these gears is a manageable project with the right knowledge and patience. This guide provides a detailed walkthrough for identifying, sourcing, and replacing faulty gears in your cherished music box.
Understanding the Music Box Gear System
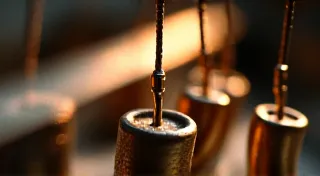
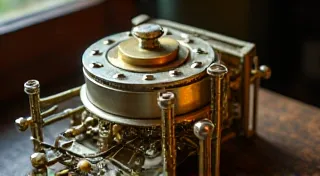
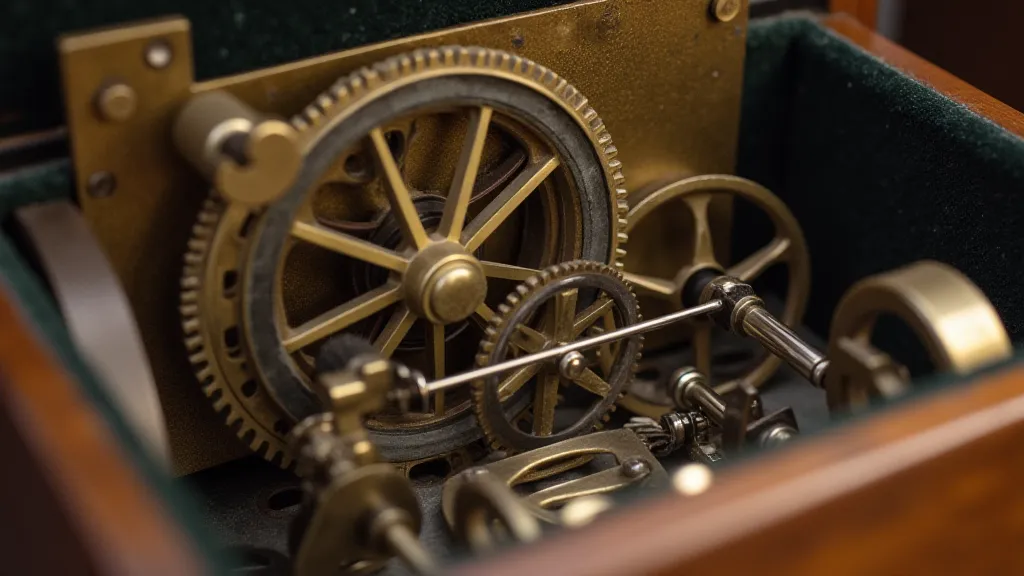
Before you begin, it's crucial to understand how the gear system works. In most antique music boxes, a series of interconnected gears transmits power from the mainspring (or winding mechanism) to the cylinder or disc that produces the music. Each gear has a specific function and size. Replacing the wrong gear can severely damage the music box and prevent it from playing correctly.

Step 1: Identifying the Broken or Worn Gear
Carefully disassemble the music box, documenting each step with photographs or notes. This is vital for reassembly. Once open, inspect each gear for damage. Signs of wear or breakage include:
- Broken teeth: Even a single missing tooth can stop the music box from functioning.
- Rounded or worn teeth: This indicates excessive wear and can lead to slippage and inaccurate musical notes.
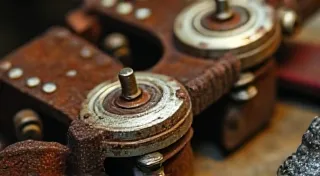
- Cracked or chipped gear bodies: These are signs of structural weakness and impending failure.
- Discoloration or pitting: These are often indicators of corrosion, though the underlying cause must be addressed.
Use a magnifying glass and good lighting to ensure accurate identification. Note the gear's position within the mechanism and its relationship to other gears.
Step 2: Sourcing Replacement Gears
Finding replacement gears can be challenging. Here are some avenues to explore:
- Specialty suppliers: Several online retailers specialize in antique music box parts and gears. Search for "music box parts" or "antique music box repair."
- Salvage from other music boxes: Sometimes, damaged or non-functional music boxes can be a source of spare parts.
- Machine shops: In some cases, a skilled machinist can fabricate custom gears based on a provided pattern or dimensions. This is often a more expensive option.
- Online forums and communities: Antique music box enthusiast forums can be a great resource for finding parts or connecting with experienced repairers.
Crucially, note the gear’s dimensions (diameter, width, number of teeth) and material. Gears are often made of brass, steel, or occasionally other metals. Mismatched materials can cause wear and affect performance.
Step 3: Replacing the Gear
Once you have the replacement gear, the replacement process itself is often straightforward, but requires precision and care.
- Clean the area: Remove any debris or old lubricant from the gear arbor and surrounding area.
- Lubricate the arbor: Apply a tiny amount of appropriate lubricant (typically clock oil) to the arbor.
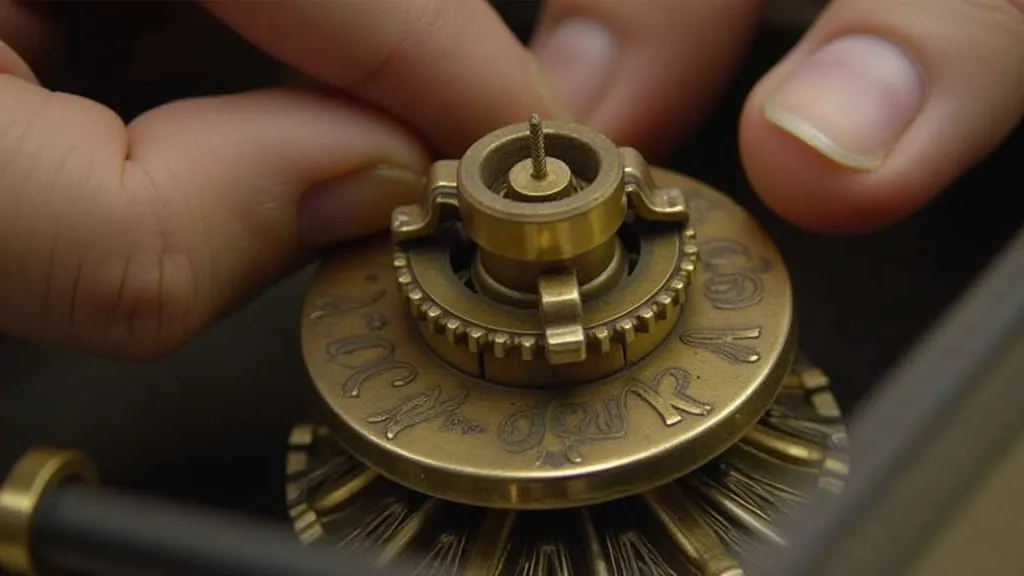
- Carefully position the new gear: Ensure the gear sits squarely on the arbor and meshes correctly with the adjacent gears.
- Secure the gear: Many antique music boxes use a friction fit for gears. Some may have a small pin or screw to secure the gear. Ensure the gear is firmly seated.
- Test the movement: Rotate the mainspring (or winding mechanism) to check for smooth operation. Listen for any unusual noises or binding.
Important: Do *not* force anything. If you encounter resistance, re-examine the gear’s alignment and ensure it’s the correct size.
Troubleshooting and Tips
- Noisy operation: This may indicate incorrect gear meshing or insufficient lubrication.
- Music box won't play: Double-check the gear alignment and ensure all gears are engaged.
- Gear slips: The gear may be too small or the arbor may be worn.
Conclusion
Replacing broken music box gears requires patience, attention to detail, and a good understanding of the mechanism. While it can be a challenging task, the reward of restoring a cherished antique music box to its original glory is well worth the effort. With this guide, you’re equipped with the foundational knowledge to tackle this common repair and keep your music box playing beautifully for years to come.