Common Music Box Disassembly and Reassembly Techniques
Disassembling and reassembling an antique music box can feel daunting, but with patience, the right tools, and a methodical approach, it's a manageable task. This guide outlines common techniques, essential tools, and best practices to ensure your restoration project goes smoothly.
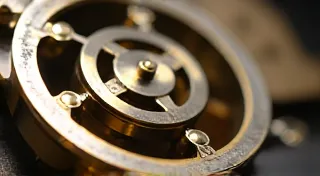
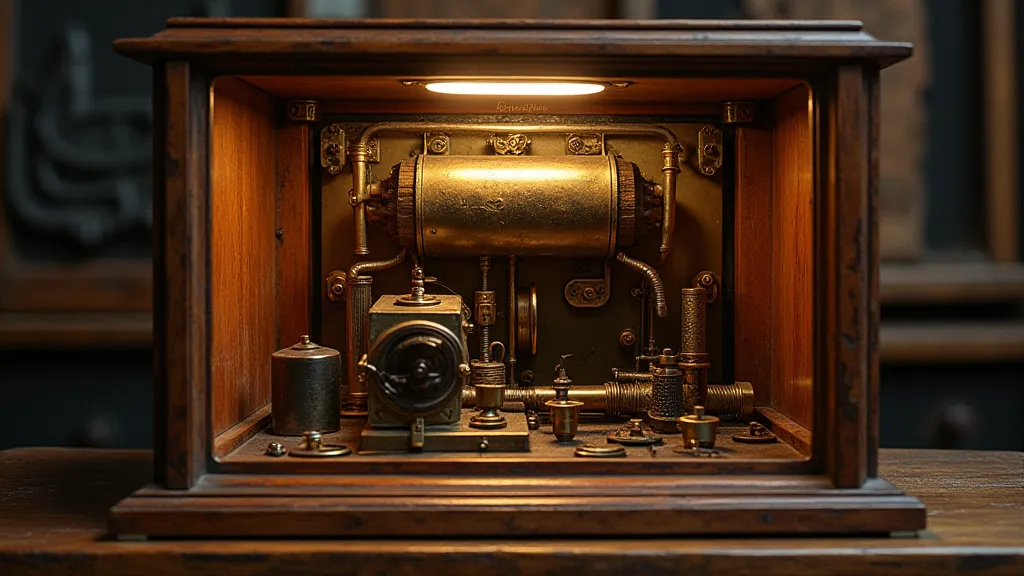
Understanding the Music Box Construction
Before you even think about touching a screwdriver, take a moment to observe your music box. Note the materials used (wood, metal, paper), the types of fasteners (screws, pins, rivets), and the general layout. Older music boxes often have unique and delicate construction, so careful observation is crucial.
Essential Tools
Having the right tools will protect the delicate components of your music box and prevent damage. Here's a list of commonly needed items:
- Small Screwdrivers: A range of sizes, including very small jewelers' screwdrivers.
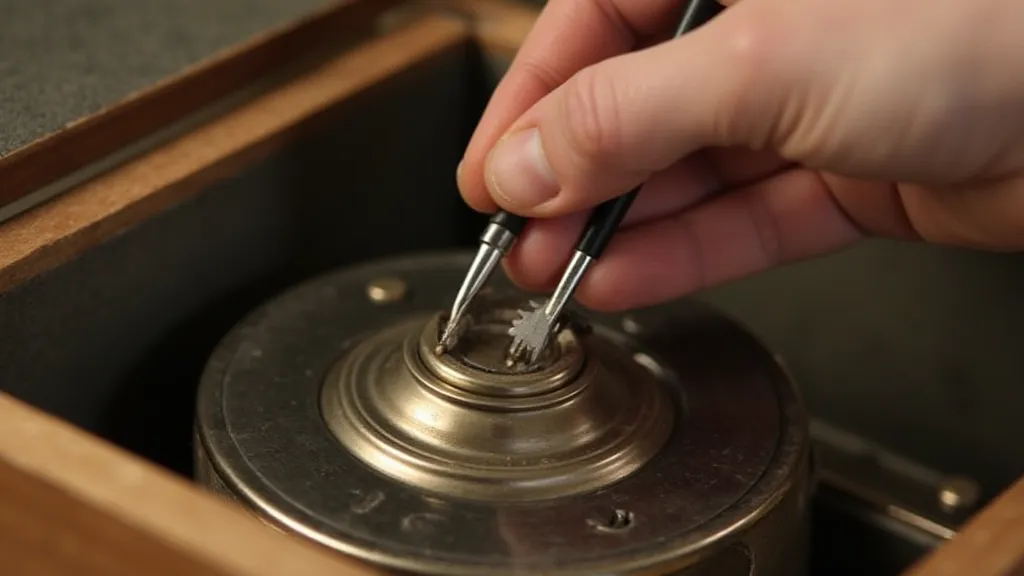
- Tweezers: For handling small parts.
- Pry Tools: Small, blunt-tipped tools for gently separating components.
- Needle-Nose Pliers: For gripping and manipulating small parts.
- Magnifying Glass or Loupe: Essential for seeing details.
- Soft Cloth or Pad: To protect surfaces.
- Camera or Smartphone: To document each step of the disassembly process.
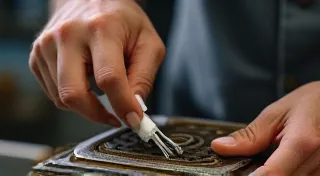
Step-by-Step Disassembly
1. Documentation: Take detailed photographs *before* you begin. These photos will serve as a crucial reference during reassembly.
2. Exterior Removal: Start by carefully removing the exterior casing. This often involves unscrewing screws located on the underside or sides. Be extremely cautious; screws can be easily stripped, especially in older music boxes.
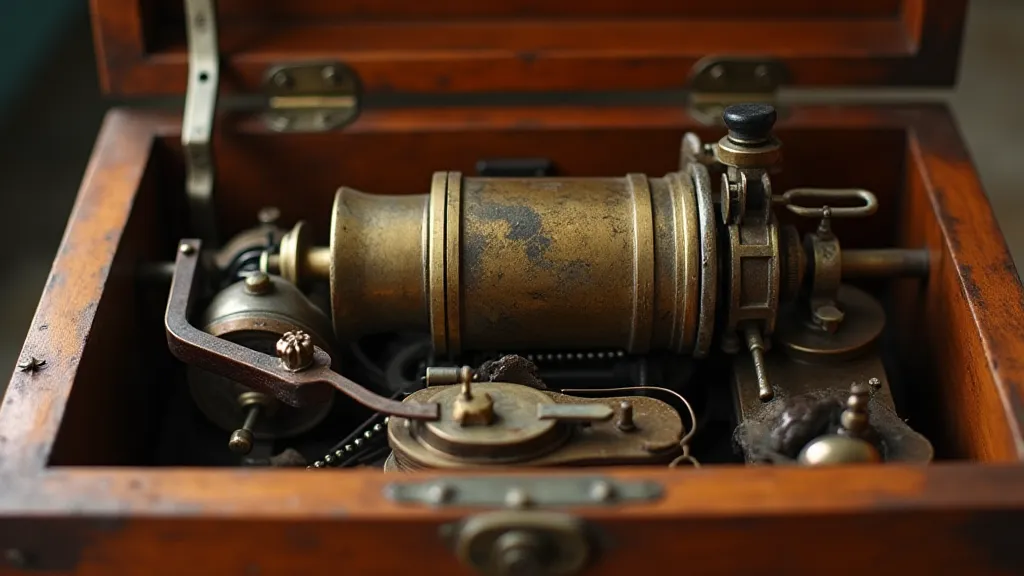
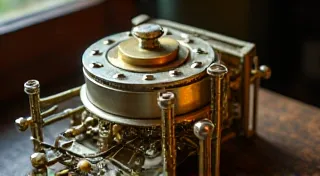
3. Movement Access: Once the exterior is removed, you’ll need to access the movement (the mechanical heart of the music box). This may involve removing a back panel or other internal components. Again, document each removal with photographs.
4. Cylinder/Disc Removal: The cylinder (for cylinder music boxes) or disc (for disc music boxes) is a critical component. Carefully detach it, noting its orientation. Some have fragile pins or levers; handle with extreme care. Avoid forcing anything.
5. Comb Disassembly (Optional): For more advanced repairs, you might choose to disassemble the comb (the part that produces the music). This is complex and should only be attempted by experienced individuals. There are many articles on our website dedicated to comb repair.
Reassembly Techniques
Reassembly is the mirror image of disassembly. Use your photographs and notes to guide you. Here are a few key points:
1. Start with the Movement: Reassemble the movement first. Ensure all parts are correctly positioned and lubricated (if necessary – use a music box-specific lubricant).
2. Cylinder/Disc Placement: Carefully place the cylinder or disc back into its proper location, ensuring it’s properly aligned. Test the mechanism before proceeding further.
3. External Casing: Reattach the exterior casing, ensuring all screws are tightened securely but not over-tightened.
4. Testing: Wind the music box and listen carefully. If the music is distorted or doesn't play correctly, re-examine your work.
Important Considerations
- Gentle Handling: Always handle components with care. Music box parts are often fragile and easily damaged.
- Documentation is Key: Your photographs and notes are your lifeline.
- Don't Force Anything: If a part doesn't fit easily, stop and re-examine the situation. Forcing parts can cause irreversible damage.
- Seek Professional Help: If you're unsure about any step, don't hesitate to consult with a professional music box repairer.
Disassembling and reassembling an antique music box requires patience, attention to detail, and a respect for the intricate mechanics involved. By following these techniques and exercising caution, you can successfully restore a piece of musical history.